Services
SERVICES

GRAPHIC FACILITATION

EVENTS & RETREATS
We lead the industry in branded experiences that draw out values, highlight organizational culture, and create truly impactful experiences for participants.

WORKSHOPS

DYNAMIC VIDEOS

CONFERENCES


About Grahic Recording
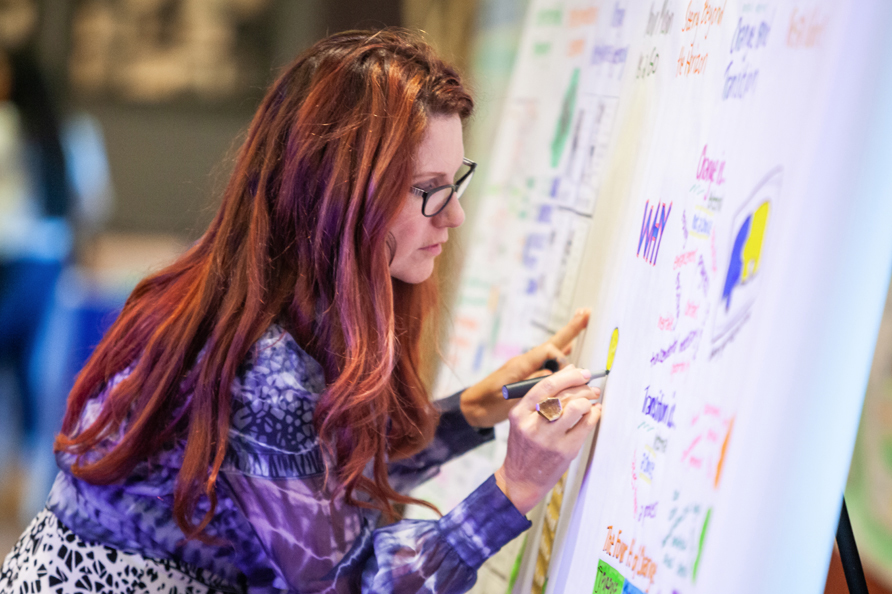
26 Letters facilitates with custom-made tools that make the work of visualization easy and fun for participants of all levels. Working with leadership teams and groups, Sarah’s guidance through the creative process is encouraging and productive.
In addition to graphic recording, Sarah offers 45- to 3-hour workshops or 1-, 2- or 3-day programs that combine inspiring tools — and more — to set up leaders for ultimate success.
26 Letters is available for Team Retreats, Leadership Development Programs, Conferences, Culture Building, and Speaking Engagements.
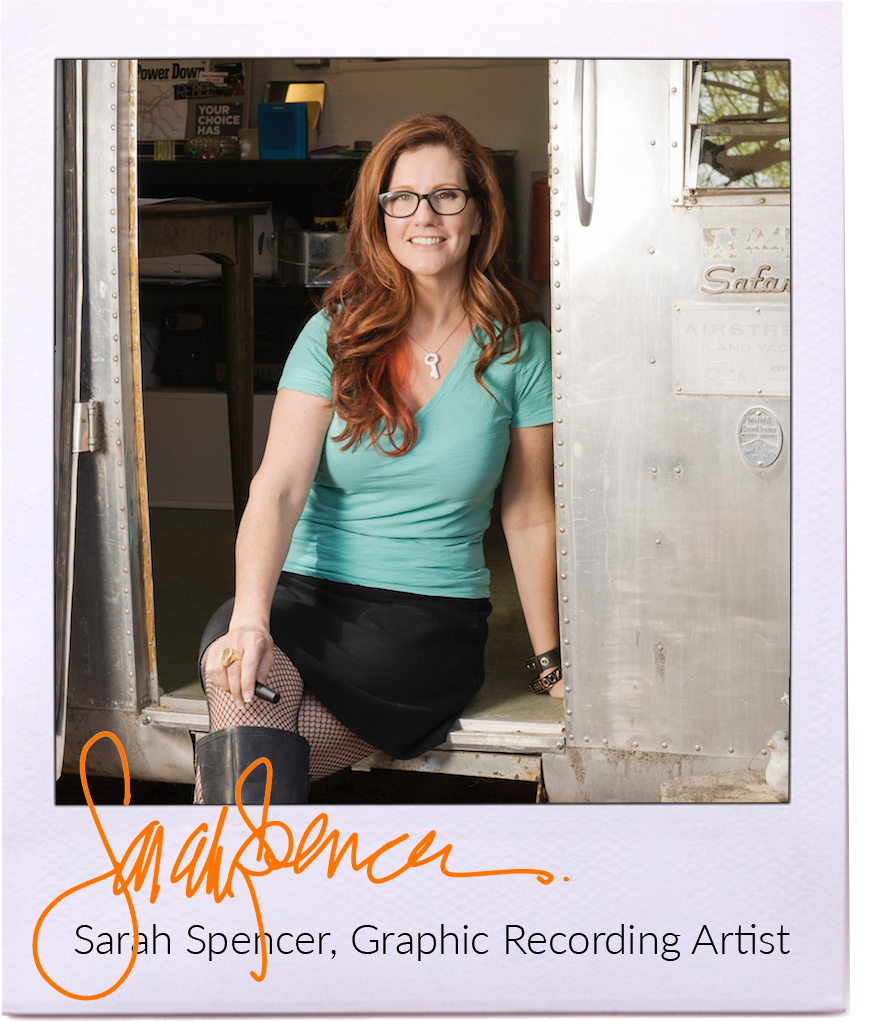
Welcome to the Airstream
WELCOME TO THE AIRSTREAM
Clients
Clients

LinkedIn • PayPal • Amazon Web Services • APS • The Salvation Army • Arizona State University • Biodesign Institute • TrueSense Marketing • Institutional Design Frontiers • Laboratory5, Inc. • MXD Arts • Society for Human Resource Management • Stardust Building Supplies • Dover Corporation • Anthony International • Axway • Telluride Wine Festival • Arizona Department of Emergency and Military Affairs (DEMA) • Sun Health • Morphos • Tempe Center for the Arts • New America • Do Good, Be Good • SilverMast • AZ Sci-Tech Festival • City of Tempe • ASU Entrepreneurship + Innovation • Goodwill Industries • House of Genius • Nina Mason Pulliam Cheritable Trust • Arizona Department of Housing (ADOH) • Heliae Global